You’ve had a long day. The kids are hungry. You’re tempted to toss frozen nuggets in the oven and call it a night. But deep down, you want something better. Something satisfying and stress-free. You want crispy, golden, garlicky Chicken Kiev that oozes with herb butter when you cut into it.
Good news: You don’t have to slave away in the kitchen to get that mouth-watering experience. This is your ultimate guide to cooking juicy Chicken Kievs in the oven and the air fryer, using quality ingredients from Gingin Grass Fed.
Let’s transform your typical Tuesday dinner into a mealtime hero.
What is Chicken Kiev Anyway?
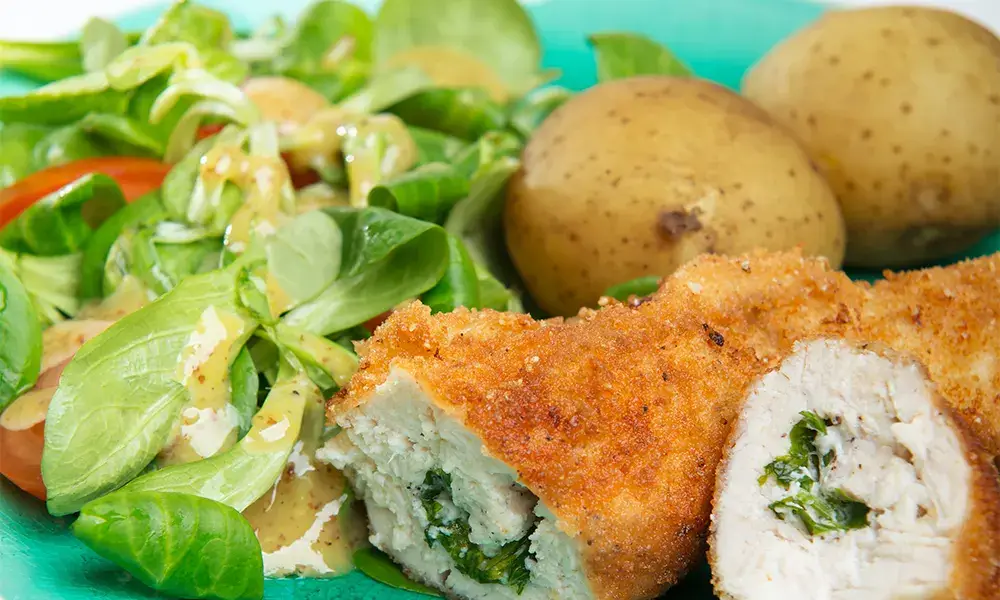
Chicken Kiev is a breaded chicken breast stuffed with garlic herb butter. It’s a beloved European dish with global appeal, crispy outside, juicy inside. When cooked correctly, the butter centre melts perfectly, creating a rich, flavourful sauce.
Choosing the Right Chicken Makes All the Difference
Before you worry about ovens or timers, the real secret lies in your ingredients.
Why choose Gingin Grass Fed Chicken?
Gingin Grass Fed offers naturally raised poultry that’s hormone and antibiotic-free. This means:
- Better taste: Naturally juicier and more tender
- Higher nutritional value: Packed with omega-3s and vitamins
- Ethical sourcing: Free-range farming practices
- Grown and processed locally in Perth, Australia
Check out Gingin Grass Fed chicken products.
Essential Tools for Cooking Chicken Kiev
Here’s what you’ll need:
- Oven or Air Fryer
- Meat thermometer
- Parchment paper or baking tray
- Tongs (if using an air fryer)
- Sharp knife (to avoid squashing that buttery middle)
How to Cook Chicken Kiev in the Oven
Step-by-step oven method for juicy results:
- Preheat oven to 180°C (fan-forced).
- Prepare a baking tray with parchment paper.
- Place the Gingin Grass Fed chicken Kievs on the tray with enough spacing.
- Bake for 25-30 minutes, or until internal temp hits 75°C.
- Let it rest for 5 minutes before slicing.
Pro Tip: Baste halfway through with melted butter or olive oil for added crispiness.
How to Cook Chicken Kiev in an Air Fryer
Short on time? The air fryer’s your best friend. Here’s how to get restaurant-quality Kievs on the fly.
- Preheat the air fryer to 180°C.
- Spray the basket lightly with oil.
- Place the Chicken Kievs inside without overlapping.
- Air fry for 18–22 minutes, flipping halfway.
- Check internal temperature hits 75°C.
Results? Crispier crust. Faster cook time. Less oil. What’s not to love?
Best Chicken Kiev Recipe with Homemade Touch
Want to take it up a notch? Try making your own Kievs at home.
You’ll need:
- 2 Gingin Grass Fed chicken breasts
- Garlic herb butter (garlic, parsley, dill, lemon zest, and salted butter)
- Panko crumbs, flour, and egg for coating
Steps:
- Butterfly the chicken breasts and pound them thin.
- Place herb butter in the centre and roll tightly.
- Freeze for 20 minutes (this helps hold shape).
- Dredge in flour, egg, and breadcrumbs.
- Cook using the oven or air fryer method above.
Why Chicken Kiev Is the Ultimate Quick Chicken Dinner
Chicken Kiev hits the sweet spot between gourmet and convenience. It’s:
- Perfect for mid-week cravings
- Kid-friendly
- Packed with flavour
- Freezer-friendly for meal prep
It’s the kind of dish that feels like a luxury, without requiring chef-level skills.
Chicken Kiev Storage and Reheating Tips
- Refrigerator: Store leftovers in airtight containers for 2–3 days.
- Freezer: Freeze uncooked Kievs for up to 3 months.
- Reheat: Air fry leftovers at 160°C for 8–10 mins for crispy results.
Pairing Ideas: What Goes Well with Chicken Kiev?
Balance your plate with these side options:
- Garlic mash: To soak up that buttery centre
- Steamed broccolini: Adds freshness and colour
- Lemon rice: Zesty, fragrant, and fluffy
- Crusty bread: For all that leftover garlic butter
Common Mistakes to Avoid
Let’s help you avoid dinner disasters:
- Overcooking: Leads to dry chicken and burnt crust.
- Skipping the rest time: The butter will gush out too early.
- Using low-quality chicken: Poor texture, bland taste.
- No thermometer: Guesswork often ends in disappointment.
Time-Saving Tips for Busy Weeknights
- Batch cook on Sunday for stress-free Tuesdays
- Freeze raw Kievs and cook straight from frozen
- Use foil-lined trays to cut down cleaning time
- Pair with frozen steamed veggies for a balanced meal
Why Gingin Grass Fed is Your Go-To for Chicken Kiev in Perth
Wondering how to cook chicken Kiev in the oven without the fuss? Now you’ve got everything you need.
At Gingin Grass Fed, we know how valuable your time is. That’s why we provide high-quality, hormone-free poultry raised right here in Western Australia. Our Chicken Kievs are made with real ingredients, free-range chicken, and just the right touch of garlic butter indulgence.
We’re proud to support local families with convenient, tasty meal options they can trust.
Now is your time to ditch the grocery store meat and give our premium range a shot. See you at your nearest farmers’ market!
Frequently Asked Questions
How do I stop my Chicken Kiev from leaking butter?
Freeze your Kievs for at least 20 minutes before cooking, and don’t skip the resting period. This helps seal in the butter.
Is air frying Chicken Kiev healthier than baking?
Yes. It uses less oil while still delivering a crispy crust, making it a better option for those watching calories.
Can I cook Chicken Kiev from frozen?
Absolutely. Just increase oven time by 10–12 minutes and always check thatthe internal temperature hits 75°C.
What’s the best butter for Chicken Kiev?
Use real salted butter mixed with minced garlic, fresh parsley, dill, and a bit of lemon zest for that authentic flavour.